DevOps Intern Task Portal
Introduction to DevOps & Linux Environment
🎯 Objective
The objective of this session is to build a strong foundation in DevOps by understanding the DevOps lifecycle, software development workflow, Linux basics, and essential command-line operations. By the end of this session, you will be able to set up your own Linux environment, execute basic Linux commands, understand how DevOps bridges Development and Operations, and prepare your system for future automation and cloud deployment tasks.
This session is designed for beginners and focuses on practical implementation rather than only theoretical concepts.
📌 Learning Outcomes
After completing this session, you will be able to:
- Understand what DevOps is and why organizations use it.
- Explain the DevOps lifecycle.
- Understand Continuous Integration (CI) and Continuous Deployment (CD).
- Install and configure a Linux environment.
- Navigate directories using Linux Terminal.
- Create, copy, move and delete files.
- Understand file permissions.
- Execute basic Linux commands confidently.
- Understand package managers.
- Prepare your local system for upcoming DevOps tools.
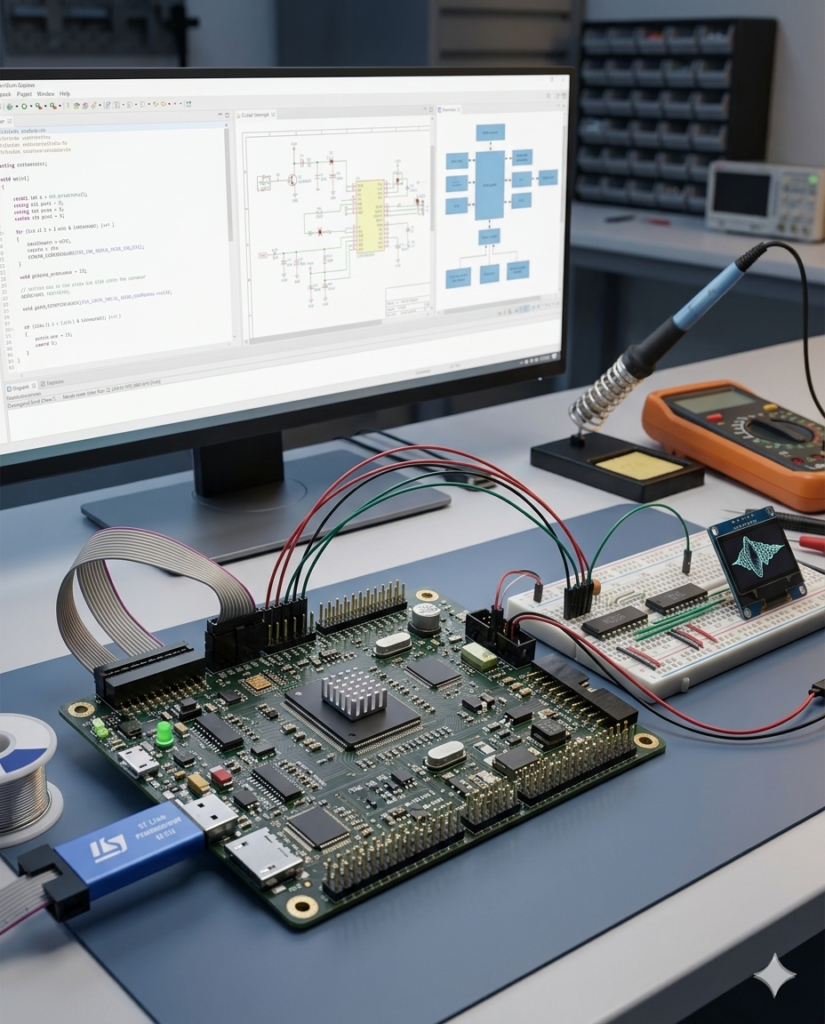
Our mission is to be a premier engineering and hardware design partner, bridging the gap between physical components and intelligent software. By leveraging state-of-the-art microcontrollers, edge-AI processing, and robust firmware architecture, we develop custom embedded solutions that power the next generation of smart devices. We are committed to delivering high-performance, energy-efficient, and scalable designs that seamlessly drive automation and connectivity across industries.
To pioneer intelligent hardware solutions by seamlessly integrating AI and machine learning at the edge.
To architect low-power, high-efficiency systems tailored for complex industrial, automotive, and consumer electronics applications.
To provide end-to-end development architecture, from initial schematic design and PCB layout to firmware optimization and rigorous testing.
To bridge the gap between IoT connectivity and hardware security, ensuring robust data processing and secure device ecosystems.
To empower businesses to scale by transforming complex engineering challenges into market-ready, micro-targeted technology products.
📢 Important Notice Regarding This DevOps Internship Session
Unlike our other internship programs, the DevOps Internship has been specially designed with one comprehensive training session.
Our technical team has combined all the essential DevOps concepts—from Beginner (Basic) to Intermediate level—into a single, well-structured training session. This approach allows you to learn the complete workflow without switching between multiple videos or waiting for additional portal releases.
Although there is only one training session, it contains a large amount of practical content. Therefore, do not attempt to complete the entire session in one day.
We strongly recommend learning at a comfortable pace and implementing every concept practically on your own computer.
📅 Recommended Learning Schedule
To ensure proper understanding and practical implementation, please follow the schedule below:
- Study only 30 minutes per day.
- Immediately implement every concept demonstrated in the video.
- Practice each Linux command and DevOps task on your own system before moving ahead.
- Save all your practice files, notes, screenshots, and command outputs in your DevOps project folder.
- Continue this process daily and complete the entire session within 5 days.
- After completing the full session, submit your assignment using the Google Form provided below.
⚠️ Important Instructions (Read Carefully)
- This internship contains only one comprehensive training session.
- The session covers Basic to Intermediate DevOps concepts in a structured manner.
- Do not skip any part of the video.
- Watch the session carefully and understand each topic before proceeding.
- Spend only 30 minutes per day to maintain consistent learning.
- Perform every practical step demonstrated in the session on your own computer.
- Do not simply watch the video—practice every command yourself.
- Save all practice files, Linux commands, screenshots, notes, and project folders.
- You may prepare your assignment using Digital Notes (PDF/Word) or Handwritten Notes (Scanned PDF or Images).
- Complete the entire session within 5 days from the date of receiving portal access.
- Submit your assignment only after completing the full session.
- Late or incomplete submissions may not be considered for evaluation.
- Future advanced internship opportunities and certifications may depend on successful completion of this assignment.
✅ SESSION 1: Deploy Your Application to Kubernetes on GKE
🎯 Objective:
The primary objective of this session is to understand how to deploy a containerized application to Kubernetes running on Google Kubernetes Engine (GKE). This session focuses on containerization, Google Cloud Platform, Kubernetes clusters, deployments, services, and application access. Participants will learn how to create or use a Docker image, push it to a container registry, create a GKE cluster, and deploy an application using Kubernetes resources.
🎥 Session:
👉 Watch the uploaded Session 1 – https://drive.google.com/file/d/1dJGZ1ovQMIv55Pz5hfLHBj-b7x0MrV0o/view?usp=sharing
📝 Task:
Prepare notes on the following topics:
Introduction to Google Cloud Platform (GCP)
Introduction to Google Kubernetes Engine (GKE)
Kubernetes and container orchestration
Understanding GKE cluster architecture
Creating and configuring a GKE cluster
Google Cloud authentication and project configuration
Introduction to Docker containers and Docker images
Creating a Dockerfile for an application
Building and tagging Docker images
Pushing Docker images to Google Artifact Registry or Container Registry
Kubernetes Pods and Deployments
Kubernetes Services and application networking
Creating Kubernetes configuration files using YAML
Deploying an application to GKE
Exposing an application using a Kubernetes Service
Checking Pods, Deployments, and Services using kubectl
Accessing the deployed application
Updating and scaling an application on GKE
Common deployment errors and troubleshooting
🔎 Practice / Research:
Perform the following practical activities on your own computer:
Create or configure a Google Cloud project.
Install and configure the Google Cloud CLI.
Authenticate with Google Cloud.
Enable the required Kubernetes Engine and container-related APIs.
Create a GKE cluster.
Connect to the GKE cluster using kubectl.
Create a simple application and Dockerfile.
Build a Docker image for the application.
Push the Docker image to Google Artifact Registry.
Create a Kubernetes Deployment YAML file.
Create a Kubernetes Service YAML file.
Deploy the application to GKE.
Check Pods and Deployments using kubectl.
Expose the application using a LoadBalancer Service.
Access the application using the external IP.
Scale the application by changing the number of replicas.
Research common GKE deployment problems and their solutions.
Create a short summary explaining the complete workflow from Docker image creation to application deployment on GKE.
📝 Internship Assignment Submission Form:
After completing the complete DevOps session and all practical implementations, submit your assignment, notes, and practice work using the Internship Assignment Submission Form.
📎 Form Link: https://forms.gle/YczUMc41oWrGstU8A
✅ SESSION 2: Deploy React App to Kubernetes on GKE using IaC
🎯 Objective:
The primary objective of this session is to understand how to deploy a React application to Kubernetes on Google Kubernetes Engine (GKE) using Infrastructure as Code (IaC). This session focuses on React application containerization, Docker, Kubernetes, GKE, and IaC tools such as Pulumi. Participants will learn how infrastructure can be defined and managed through code and how a React application can be automatically deployed and exposed on a Kubernetes cluster.
🎥 Session:
👉 Watch the uploaded Session 2 – https://drive.google.com/file/d/1zLQ8vn2jk8nSPrpLsysKqnZoyEMdT8Xe/view?usp=sharing
📝 Task:
Prepare notes on the following topics:
Introduction to React applications
React application build process
Introduction to Docker and containerization
Creating a Dockerfile for a React application
Building a production-ready React application
Creating Docker images for React applications
Introduction to Google Cloud Platform
Introduction to GKE
Kubernetes cluster architecture
Kubernetes Pods, Deployments, and Services
Introduction to Infrastructure as Code (IaC)
Benefits of Infrastructure as Code
Introduction to Pulumi
Pulumi architecture and workflow
Pulumi projects, stacks, and configuration
Defining GCP infrastructure using Pulumi
Creating a GKE cluster using Pulumi
Managing Kubernetes resources using Pulumi
Deploying a React application to GKE
Exposing the React application using a Kubernetes Service
Managing infrastructure changes using Pulumi
Updating and destroying infrastructure using IaC
Benefits and challenges of using IaC for Kubernetes deployments
🔎 Practice / Research:
Perform the following practical activities on your own computer:
Create a basic React application.
Install Node.js and the required React dependencies.
Run and test the React application locally.
Create a Dockerfile for the React application.
Build a Docker image for the React application.
Run the Docker container locally and verify the application.
Configure a Google Cloud project.
Install and configure the Google Cloud CLI.
Install and configure Pulumi.
Authenticate Pulumi with the required cloud provider.
Create a Pulumi project for GCP.
Define the required GKE infrastructure using Pulumi.
Create the GKE cluster using Pulumi.
Configure kubectl to access the cluster.
Create Kubernetes Deployment and Service resources.
Deploy the React application to GKE.
Verify Pods, Deployments, and Services using kubectl.
Access the React application through the external IP.
Modify the infrastructure and apply the changes using Pulumi.
Practice Pulumi preview, up, and destroy commands.
Research how IaC improves repeatability and automation in cloud deployments.
Create a short summary explaining the workflow from React source code to a Kubernetes deployment managed through IaC.
📝 Internship Assignment Submission Form:
After completing the complete DevOps session and all practical implementations, submit your assignment, notes, and practice work using the Internship Assignment Submission Form.
📎 Form Link: https://forms.gle/YczUMc41oWrGstU8A
✅ SESSION 3: Deploy from GitHub Actions to AWS EC2 Instance
🎯 Objective:
The primary objective of this session is to understand how to create a Continuous Integration and Continuous Deployment (CI/CD) workflow using GitHub Actions to deploy an application to an AWS EC2 instance. This session focuses on GitHub, GitHub Actions, AWS EC2, application deployment, SSH authentication, environment configuration, and deployment automation. Participants will learn how code changes can automatically trigger a workflow that builds, transfers, and deploys an application to a remote EC2 server.
🎥 Session:
👉 Watch the uploaded Session 3 – https://drive.google.com/file/d/1ftTq83LzBBrZGZYWZjZWd9OqWSVq5A4b/view?usp=sharing
📝 Task:
Prepare notes on the following topics:
Introduction to Git and GitHub
Introduction to CI/CD
Continuous Integration and Continuous Deployment
Introduction to GitHub Actions
GitHub Actions workflow architecture
GitHub Actions events and triggers
Workflow YAML configuration
Jobs, steps, and runners
GitHub Actions secrets and variables
Introduction to Amazon Web Services (AWS)
Introduction to Amazon EC2
Creating and configuring an EC2 instance
EC2 security groups and networking
Connecting to an EC2 instance using SSH
Installing application dependencies on EC2
Deploying an application manually to EC2
Configuring GitHub Actions for automated deployment
Securely storing AWS and SSH credentials
Building an application through GitHub Actions
Transferring application files to an EC2 instance
Restarting and managing the application on EC2
Environment variables and configuration management
Monitoring deployment logs
Handling deployment failures and troubleshooting
Benefits and challenges of GitHub Actions-based EC2 deployment
🔎 Practice / Research:
Perform the following practical activities on your own computer:
Create a GitHub repository for a sample application.
Clone the repository and run the application locally.
Create an AWS account or use an available AWS environment.
Launch an EC2 instance.
Configure an appropriate security group.
Generate or configure an SSH key for the EC2 instance.
Connect to the EC2 instance using SSH.
Install the required runtime and application dependencies on EC2.
Deploy the application manually to EC2.
Verify that the application is running successfully.
Create a GitHub Actions workflow file inside the repository.
Configure the workflow to trigger on code push.
Configure GitHub Actions secrets securely.
Add steps to build and prepare the application.
Add steps to connect to the EC2 instance.
Transfer the application files to EC2.
Run the required deployment commands on EC2.
Restart the application automatically after deployment.
Push a code change to GitHub and observe the automated workflow.
Verify the updated application on the EC2 instance.
Check GitHub Actions logs and troubleshoot any errors.
Research best practices for securing CI/CD credentials and SSH access.
Create a short summary explaining the complete CI/CD workflow from GitHub code commit to deployment on AWS EC2.
📝 Internship Assignment Submission Form:
After completing the complete DevOps session and all practical implementations, submit your assignment, notes, and practice work using the Internship Assignment Submission Form.